How to collect a successful blood biomarker sample at home
Biomarkers provide many important insights into your health. At Elo, we use dried blood spot testing to evaluate a variety of nutrition-related biomarkers and determine your ultimate supplement mix. Check out this best-practice guide on how to collect your biomarker sample at home to make this process fast, easy, and relatively painless.

Contents
What is dried blood spot testing? What is dried blood spot testing used for? How does dried blood spot testing compare to a traditional blood test? When should you collect your Elo blood spot sample? How long does it take to collect a blood sample with Elo? How to collect the Elo blood sample? Prepare for your sample collection How long does it take to process your Elo? Key takeawaysBlood biomarkers are commonly used to evaluate health and nutrition status, and thanks to the advancement of modern technology, some of them can be tested from home. If you’re a first-timer, this process can be a little intimidating so we’ve put together this comprehensive guide to make collecting blood at home simple and mostly pain-free. Before doing a deep dive on how to collect a successful biomarker sample at home, let’s first start off with some basics about dried blood spot testing such as how it works, what it’s used for, and how it compares to traditional blood testing.
What is dried blood spot testing?
Dried blood spot technology has been around since the ‘60s, and while it was initially used for newborn screenings, it has gained traction as a valid method for testing other biomarkers [1]
How it works
During a blood spot test, a small lancet is used to prick your fingertip, and blood is dropped onto a collection card. The collection card is then left to dry before being shipped to the lab.
Once the sample arrives at the lab, blood is extracted from the collection card using a phosphate-containing saline solution. The remaining fluid is used to analyze various biomarkers. Processing time varies depending on the lab; at Elo, it takes our lab 5-7 days to process your biomarker sample.
What is dried blood spot testing used for?
Dried blood spots tests have a variety of applications from screening newborns to diagnosing hepatitis, and millions of tests are conducted each year.
At Elo, we use dried blood spot samples to analyze the following metabolic health and nutrition biomarkers:
Total cholesterol
Triglycerides
Cholesterol to HDL ratio
LDL to HDL ratio
VLDL
Homocysteine
HbA1c
Vitamin B12
Ferritin
How does dried blood spot testing compare to a traditional blood test?
Several studies have shown that dried blood spot testing yields similar results to traditional blood testing; however, accuracy varies by biomarker [ 2 3 4
When should you collect your Elo blood spot sample?
At Elo, we recommend collecting your sample within 24 hours of receiving your biomarker kit. You can collect your sample at any time of the day and no longer need to fast. That said, we generally find that afternoon is the easiest time to collect a successful sample.
How long does it take to collect a blood sample with Elo?
Our biomarker collection process shouldn’t take more than 10-15 minutes if you carefully follow the instructions (hint, hint). We need roughly 6-8 drops of blood to evaluate a dozen biomarkers.
How to collect the Elo blood sample?
Follow the 5 steps below to collect a successful sample. You can also view the tutorial video on The Elo App or on Youtube
Prepare for your sample collection
Ready to take your biomarker test? Not so fast. We have a few more tips for you before you prick your finger:
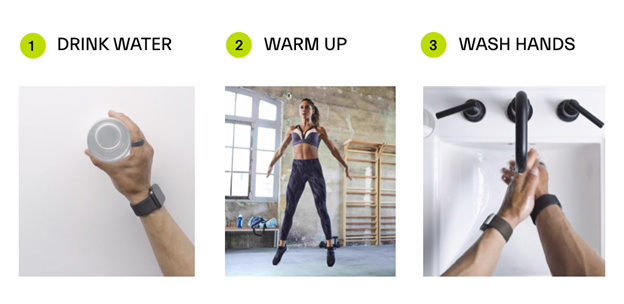
Drink a glass of water. This will help your blood flow more freely and minimize the need for multiple lancets.
Warm up. Walk, or do a few jumping jacks to get your blood pumping before you collect your sample.
Wash hands with warm water. Wash your hands thoroughly with warm water for at least 1 minute. Warm water helps increase blood flow and washing your hands will minimize the risk of contaminating your sample.
STEP 1: Open the biomarker kit box
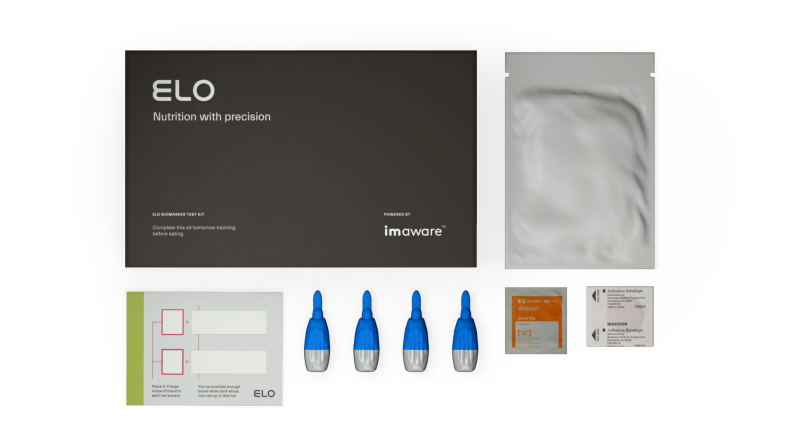
Lay the contents of your biomarker kit on a flat surface. Your kit contains the following:
4 x alcohol wipes
4 x lancets
1 x collection card
4 x bandaids
1 x foil pouch with desiccant pack
1 x return shipping envelope
STEP 2: Prick your finger
Choose a finger to prick above the top knuckle. We find that the ring finger or the outer side of the pinky finger works well but you can collect blood from any finger. We recommend pricking your finger slightly off-center.
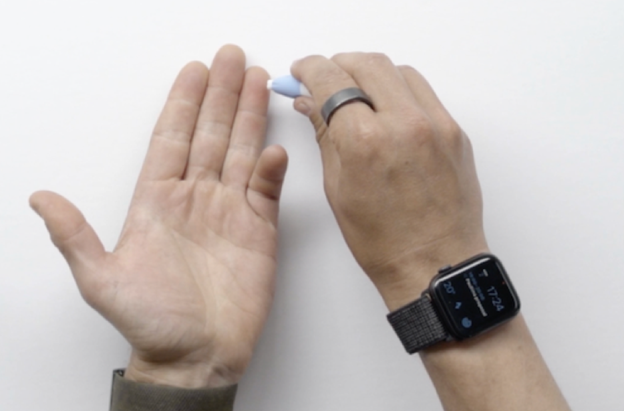
Clean your chosen fingertip with an alcohol wipe.
Twist off the cover of the lancer, and place the lancet firmly on your ring finger.
Press the lancet firmly until you hear a click.
STEP 3: Collect your sample
This is the most important step. Make sure you follow the instructions and fill both of the squares.
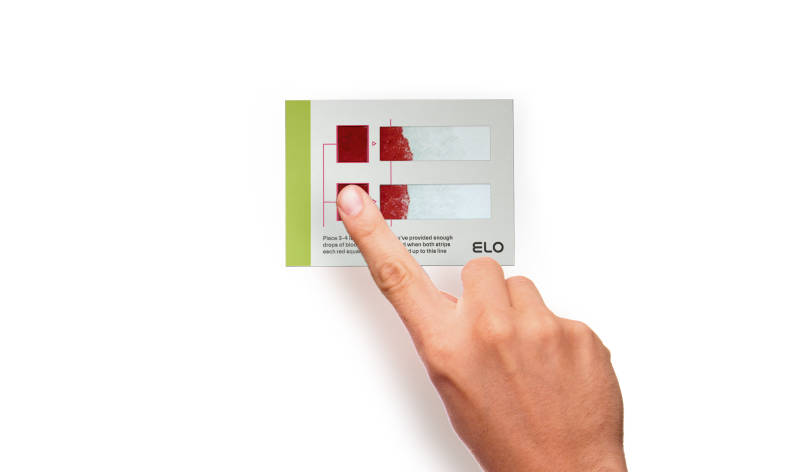
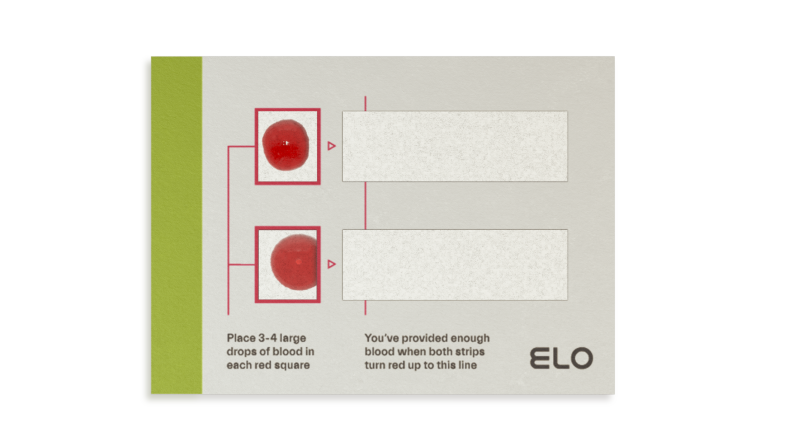
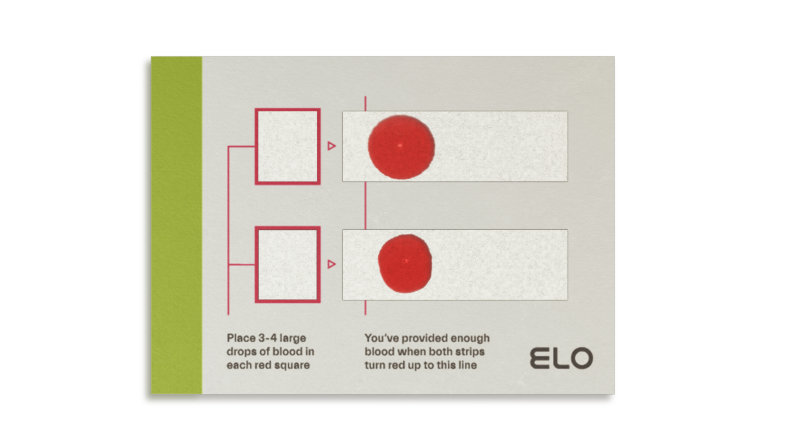
Allow your blood to drip into the collection squares without touching the collection card. Avoid milking or squeezing your finger above the knuckle because this can lead to a failed sample.
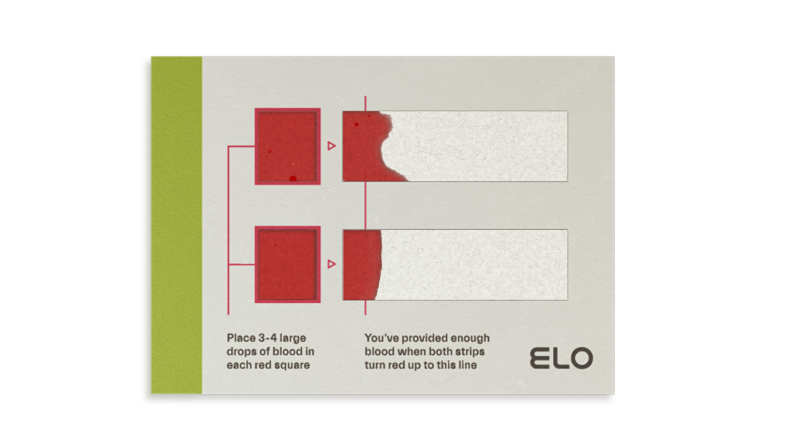
Drop 3-4 blood droplets into the 1st collection square.
Drop 3-4 blood droplets into the 2nd collection square.
Make sure both samples reach the red line.
If you can’t get enough blood to fill both squares with the first prick, clean another finger with an alcohol wipe, and use a new lancet to prick this finger. You can prick fingers on either hand - it won’t impact your results.
Once your blood has reached the line on both panels, allow the collection card to dry for 30 minutes. Wipe off any residual blood from your finger/s and cover with bandaids, as needed.
Acceptable blood samples
Unacceptable blood samples

STEP 4: Pack and drop your sample at the nearest USPS.
At this stage, the hard part is over and all that remains is to ship your sample to the lab. Here’s what you need to do for your sample to be accepted by our lab:
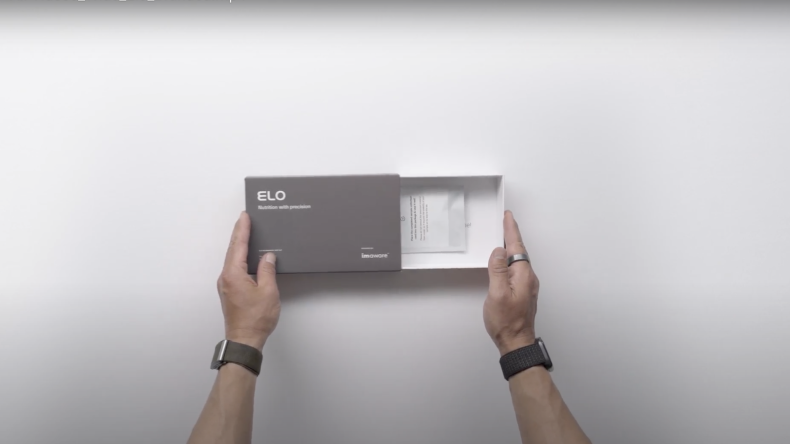
Once your collection card is dry, take out the foil pouch. You’ll notice that it contains a desiccant pack - this keeps your sample dry in transit. Slip your collection card into the foil pouch along with the desiccant pack.
Place the foil pouch and put the box into the pre-addressed shipping bag. You do not need to ship the box.
Seal the shipping bag and drop-off at the nearest USPS location. Find the nearest USPS location
HERE
.
How long does it take to process your Elo?
You will receive a notification from us when your sample arrives at our lab. After that, it takes 5-7 days for our lab to process your sample. When your biomarker results are ready, your Elo Health Coach will be in touch to schedule a coaching session to review your results and discuss your precision supplements. Once you’ve completed your coaching session, all of your biomarker results will be available in the Elo app.
Have more questions about collecting your biomarker sample? We’re available any time in the Elo app or you can email us at elo@elo.health. We’re here to help.
Key takeaways
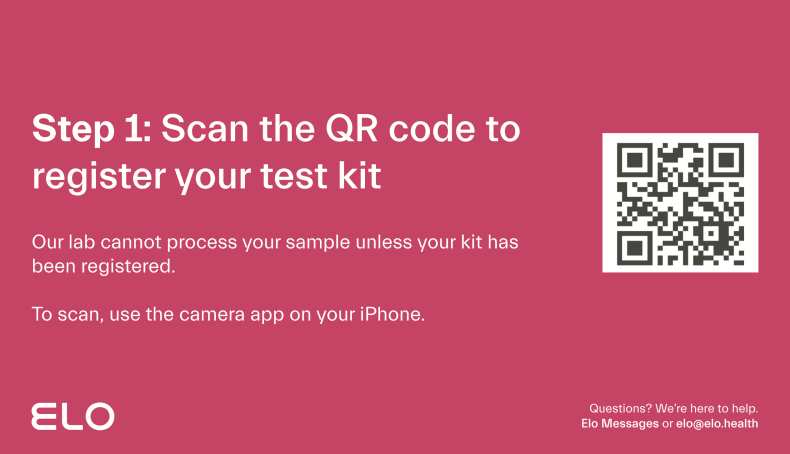
Open your biomarker kit and scan the QR code using an iPhone camera app to register your kit and access the instructional video.
Watch the instructional video in-app and read through the instructions carefully before collecting your blood sample at home.
Fill both collection squares until your blood reaches the red line. Avoid squeezing or milking your finger as you collect your sample. Instead, prick a second finger with a fresh lancet if you can’t get enough blood from the first finger.
Allow your collection card to dry for 30 minutes and place the collection card in the foil pouch.
Place the foil pouch into the pre-addressed shipping bag. You do not need to ship the box.
References
McClendon-Weary, B., Putnick, D. L., Robinson, S., & Yeung, E. (2020). Little to Give, Much to Gain-What Can You Do With a Dried Blood Spot?. Current environmental health reports, 7(3), 211–221. https://doi.org/10.1007/s40572-020-00289-y
Berbudi, A., Rahmadika, N., Tjahjadi, A. I., & Ruslami, R. (2020). Performance of Point-of-Care Testing Compared with the Standard Laboratory Diagnostic Test in the Measurement of HbA1c in Indonesian Diabetic and Nondiabetic Subjects. Journal of diabetes research, 2020, 2037565.
https://doi.org/10.1155/2020/2037565
Jensen, M. E., Ducharme, F. M., Théorêt, Y., Bélanger, A. S., & Delvin, E. (2016). Assessing vitamin D nutritional status: Is capillary blood adequate?. Clinica chimica acta; international journal of clinical chemistry, 457, 59–62.
https://doi.org/10.1016/j.cca.2016.03.020
Eileen M. Crimmins, Yuan S. Zhang, Jung Ki Kim, Stephen Frochen, Hyewon Kang, Hyunju Shim, Jennifer Ailshire, Alan Potter, Jake Cofferen, Jessica Faul. (2020) Dried blood spots: Effects of less than optimal collection, shipping time, heat, and humidity. Am J Hum Biol. 2020 Sep-Oct; 32(5): e23390. Published online 2020 Jan 10. https://doi.org/10.1002/ajhb.23390

